
Day Sections
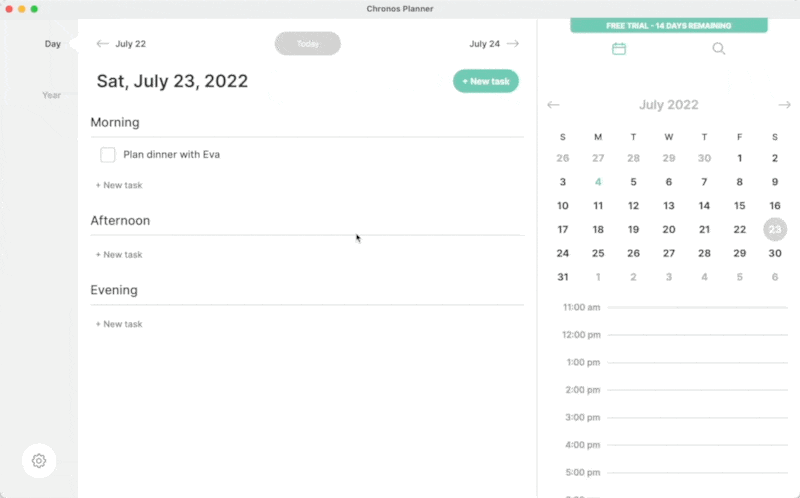
Every day is divided into three sections: Morning, Afternoon, and Evening. These sections are purely for organizational purposes, and you can easily move and swap tasks from one section to another. Simply drag and drop a task to move it between sections.
Tasks
Tasks form the core of Chronos Planner – you can create a task to track almost any part of your day – from grocery lists to book notes to chore reminders to meeting minutes – you can capture all of these activities within Chronos Planner.
Creating Tasks
There are multiple ways to create a new task for a specific day: you can click + New task from the day header, or you can click the + New task link within each individual day section. Adding from a day section will pre-populate both the day and time, while adding from the header will only populate the day.

Be sure to populate all of the required fields (task name, date, time) before saving.
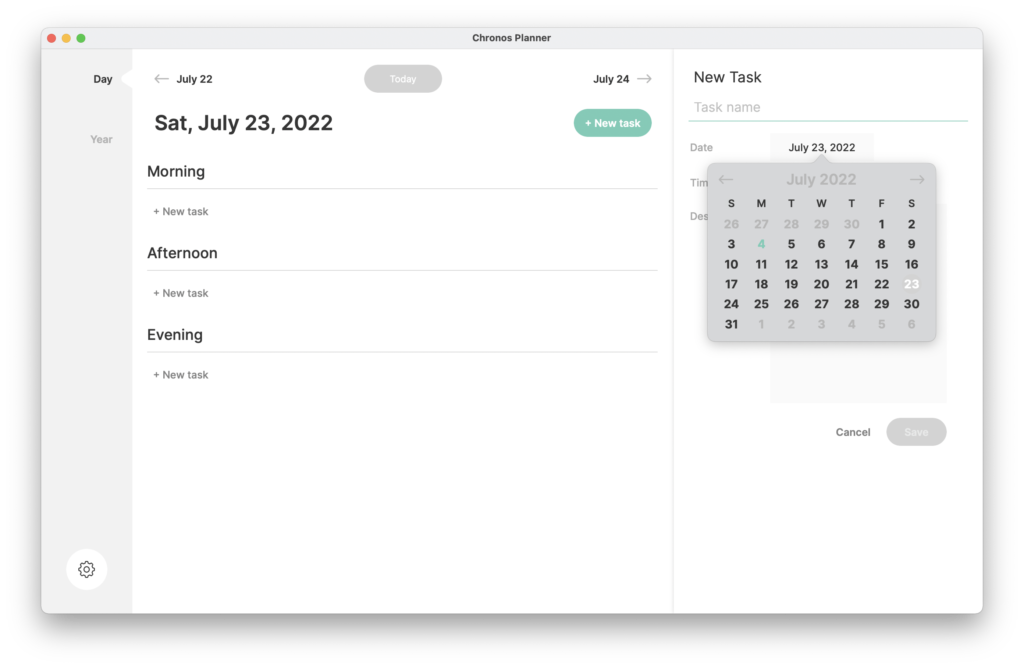
Creating Tasks for Other Dates
Once you are on the New Task panel, you can click on the Date field and choose a different date (either past or future). Doing so will add the task to the corresponding date when it is saved.
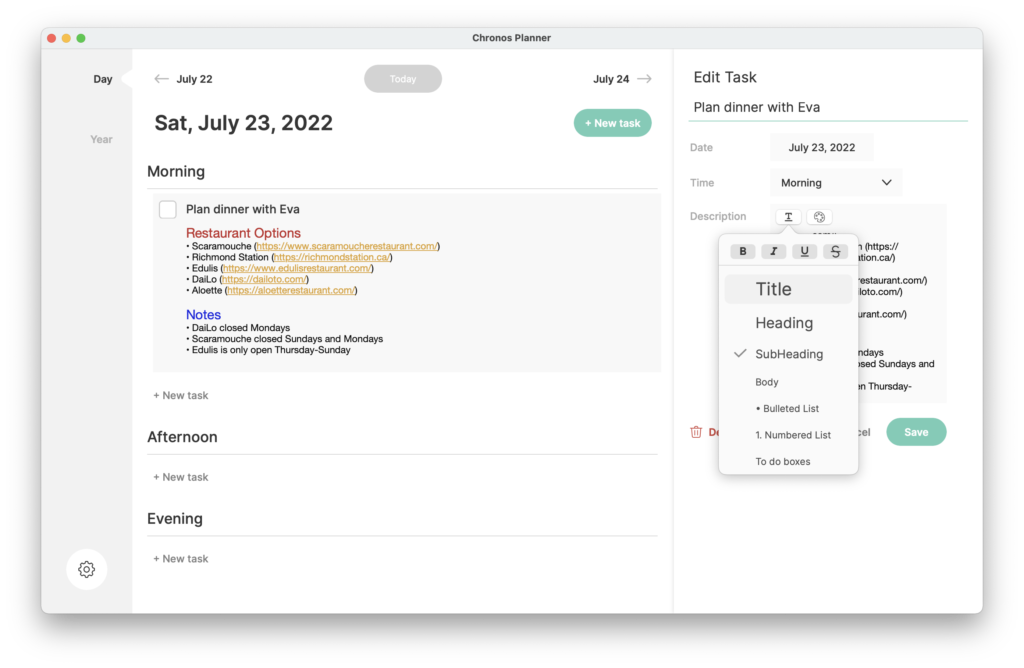
Using the Rich Text Editor
The description field on tasks allows you to format the text using a WYSIWYG editor. Many common formatting styles are available.
Changing Text Formatting
Click the first icon (text formatting) to toggle bold, italics, underline, strikethroughs, as well as styles for headings, bulleted and numbered lists.
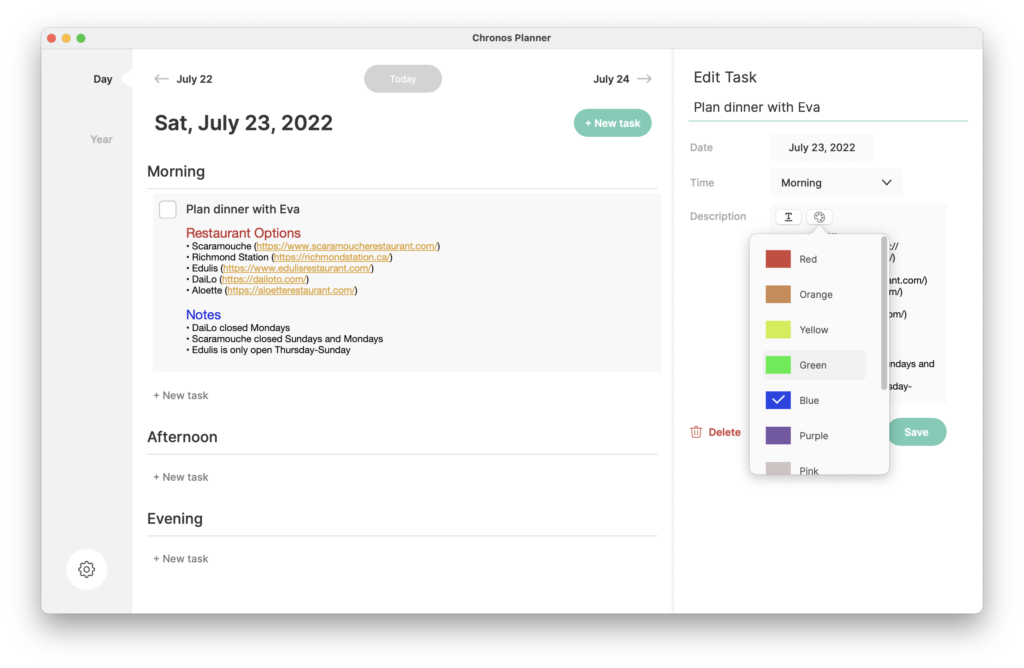
Changing Text Colours
You can also change the colour of the text by clicking on the second (colour palette) icon.
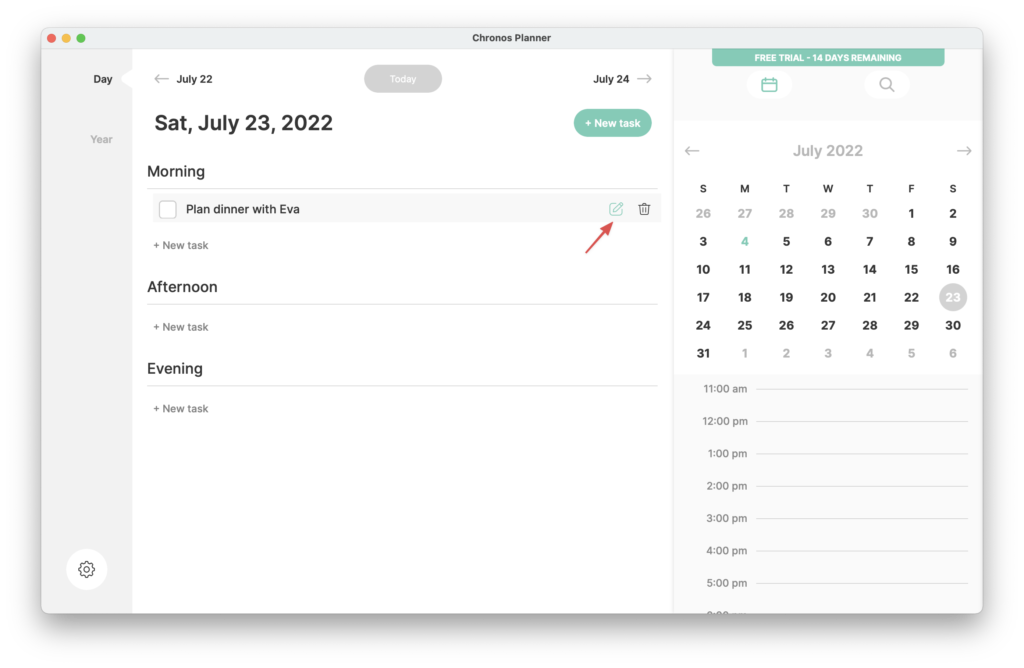
Editing Tasks
Once a task has been saved, you can edit it by hovering over the task and clicking on the Edit icon.
Expanding and Collapsing Task Descriptions
By default, task descriptions and notes are collapsed once they are added to ensure your day view interface is as de-cluttered as possible, but you can always expand a task’s description field by clicking on the task name itself. When expanded, you can click on links in the task description or drag the task to another section in the day.
Simply click on the task name or description again to collapse the description.
Completing Tasks
Marking a task as complete is as simple as checking off the checkbox besides the task name. The task will be striked through and a green checkmark will fill the checkbox to indicate that the task is complete.
Once a task has been completed, it will be grouped with other completed tasks within that day’s section.
You can convert a completed task back to an incomplete one by unchecking the checkbox besides the task name.
Deleting Tasks
Sometimes a task may be created by mistake or may no longer be desired. You can clean up your day by deleting these tasks.
Tasks can be deleted two ways:
- Hovering over the task in the day view and clicking on the Trash icon.
- Editing the task that you wish to delete and then clicking the Delete action.
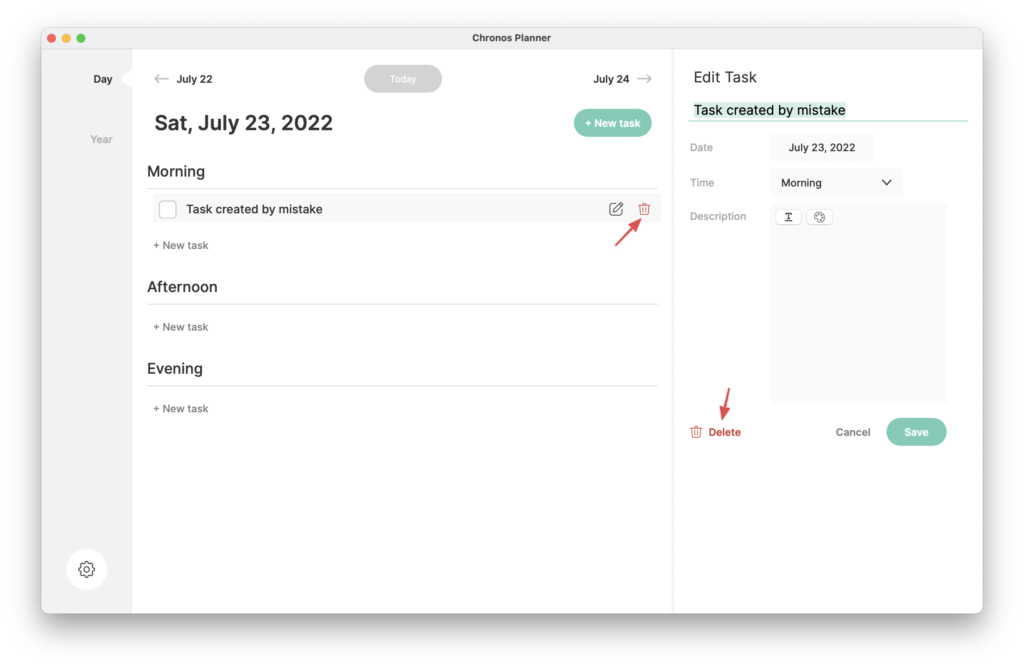
Both options will prompt you to confirm whether you wish to proceed with deleting the task.
Do you use Chronos Planner to organize your day in a different way? We’re always looking for inspiration, so please share your approach below!